Monday, October 11, 2010

{My "Gorgeous" Girl Layout}

It's not often that I put my own personal pages on this blog, but I had to share this one. This is my beautiful, youngest daughter. She is such joy. Both of my girls are. I love this picture of her. I took it last Thanksgiving. It has been sitting my scrap table for the past few months just waiting for me to create a page for it. I recently purchased the The Black Current Stack by DCWV. I kid you not, I have hardly any of it left! I love it and will have to go pick up another one soon. Anyways... I knew I wanted to use that paper for her photo.


There are lots of layers and the reason some of the flowers look orangy is because they are foiled and the flash did something weird to them! I used shimmer card stock and there is a little bit of everything in here. Did you see all the gems? You know I am addicted. I wonder if there is support group for people like me? °Ü° I inked and distressed the edges. Not a lot, but just enough.

For me, this is truly scrappin'! This is what it is all about. I love making beautiful keepsakes so that my grand-babies can see how gorgeous their mom was back when she was 14! °Ü°

{Monster Mash Halloween Scrapbook Pages}

I have always wanted to go as the Bride of Frankenstein for Halloween! I think it would be fun for my husband and I to dress and Frank and Bride. One of these years. How morbidly cute are these two?


I have started scrapping my pages with a little freedom built into them. What do I mean by this? Well, as you can see, there are no photo mats. When you create a page using no distinct photo mats, it gives you room to play with photos later. You can add 5x7s, 4x6s or lots of 4x4s or 3x3s and the best part of all? You can add a variation of all sizes. Add as many or few as you would like. It is a freedom I have come to love about designing this way. Be honest, what do you think about it?


The title is large! It is a 3D title in that the letters are popped up from the black shadowing. The "MONSTER" is cut from glitter card stock and the "MASH" is cut from distressed looking papers.


The mummy is so thick! All of the characters are. There is tons of layering that make up each image. making them sturdy. I cut extra layers for the mummy so he would have that genuine wrapped look. I also used Stickles for his eyes and black spots, which gives the glitter look I was going for. The spider web behind him is accented with a silver glitter gel pen and the spider is cut from faux suede paper and popped up for dimension. He has glitter eyes, too.


A little more of a close-up so you can see all of the glitter effects.


The title. The letters are inked with purple


Journaling frame. It is actually 2 frames layered one on top of the other. The bottom one has white glitter that shines through the edges of the smaller, upper frame. Now that I look at it, I think it needs gems with I will go in and put on. Don't you think? I love the little pumpkin. He's a bit different but certainly fits in with this crowd.


He's a cooky little guys, isn't he? :D


I love tulle and I think it looks great with Halloween decor! Plus I think it brings the feminine touch the pages needs. The little "button" has a 31 on it.


Notice that through out the spread, I have distressed and inked the edges.


And here they are! Looks like she is taking his hand for a dance that he is reluctantly asking for, doesn't it? Cracks me up.

Here's Frank. I love his expression. He is so not impressed! Again, I used Stickles for his eyes and the white V part of his neck. His bolts are cut from brushed metal looking paper. I also cut extra pieces so that there was a distinction between his shirt, pants and shoes.


I also inked around his face and hands to add some dimension.


I think she looks ghoulishly-fabulous! °Ü° I added some purple chalk to her hair and her famous white stripe is decorated with glitter (Stickles). He dress was cut from spider web paper, but was a little boring so I took my glitter gel pen and traced the web to give her some more sparkle!


She has a little purple eye shadow and red glitter lips. °Ü°

Here you can see all the layers and the fact that they are popped off the page. The black cat is also cut from black faux suede paper and has red glitter eyes and a little purple bat color.

So that's it! I love Halloween and had a blast creating this page. I have at least 2 more spreads I am working on from the cartridge; Happy Hauntings.

Happy Haunting to you! ;)


Designed and Created by CJL
The Avid Scrapper 2010

Please do no copy for resale. Thank You.

This spread is still available for you to purchase! Not in my Etsy store, so please contact me personally, via email.  Cost is $45 + Shipping


{Strawberry Shortcake "Cutie" Scrapbook Pages}

It's been a while since I made a SS spread and I was missing this cute little face! °Ü° Once I finished, the only thing that came to mind for the title was simply, "Cutie". What a cutie she is!


The Entire Spread

Strawberry Shortcake stands about 10" tall


I love her little basket


Cute little flower gem with ribbon. Your picture will easily slide under the ribbon.


4x6 Photo Mat


2 More Photo Mats, embellished with gems


The Title. It has a 3D effect. The darker pink is popped up from the light pink shadow.


A Place for Journaling


I love this Strawberry die


The daisies have glitter on their petals and are popped up


I just love this sweet little face


Both SS images have button strawberries with gems in their bows


Gemstones! You know how I love them!

Some of the papers are embossed with glitter and really add dimension to the pages. There are lots of 3D pop dots. too! I just love SS. I don't think you can go wrong when she on the page! °Ü°

Designed and Created by CJL
The Avid Scrapper 2010

Please do no copy for resale. Thank You.

Watch for this page to be listed in my Etsy store soon. If interested, you can contact me via email. Cost is $45 + Shipping

Sunday, October 3, 2010

{Kylie's Halloween Cards}


I am lucky to have 2 very talented daughters. My oldest takes after my love of crafting and painting, and my youngest takes after my love for writing, drawing and journaling.

My oldest, Kylie, loves making cards and I envy her ability to create them so easily! I am a product of the 80's. Everything was very matchy-matchy and symmetrical. It is how I dressed, arranged the furniture in my room, it was in everything I did in Jr. High and High School and it is pretty much the same for me today. I am sure some of you have picked up that little fact in my pages! For Kylie, crafting, scrapbooking and card making is more care-free. She is really an artsy person. She is a photographer and sees the world a bit differently than most. (BTW, I wish I had just an ounce of her photography talent, too!) Anyways, back the cards, she has got a jump on her card making for the season and here are her first 5 Halloween cards. I just loved them and had to share them with you. Hope you are inspired, I know I am. Now maybe all the cute Halloween paper sitting here next to me can get put to some good use!

Happy Scrappin' °Ü°

Friday, October 1, 2010

{TP Roll Halloween Brag Book}


Yes, you read the title right. TP, as in toilet paper. I made the above brag book out of toilet paper rolls. Crazy, huh? A couple of months ago my daughter Kylie was surfing the web for new album ideas and she found someone who made these little albums. She made the most adorable one for a friend and I fell in love with it and the idea. I've wanted to make one ever since.

I'm not sure I've ever said this, but I am a Bo Bunny-a-holic. I love all things Bo Bunny. I think they are an amazing company who get's today's crafter and makes a product that is loveable, useable and reasonable. A few weeks back, I bought the Bo Bunny WHOO-LIGANS line. It's been sitting on the corner of my scrap desk just staring me down and waiting to see what I will create with all of it! °Ü° I do have plans for it, but I thought it would make the perfect little TP album given that I wouldn't be using a ton of it.

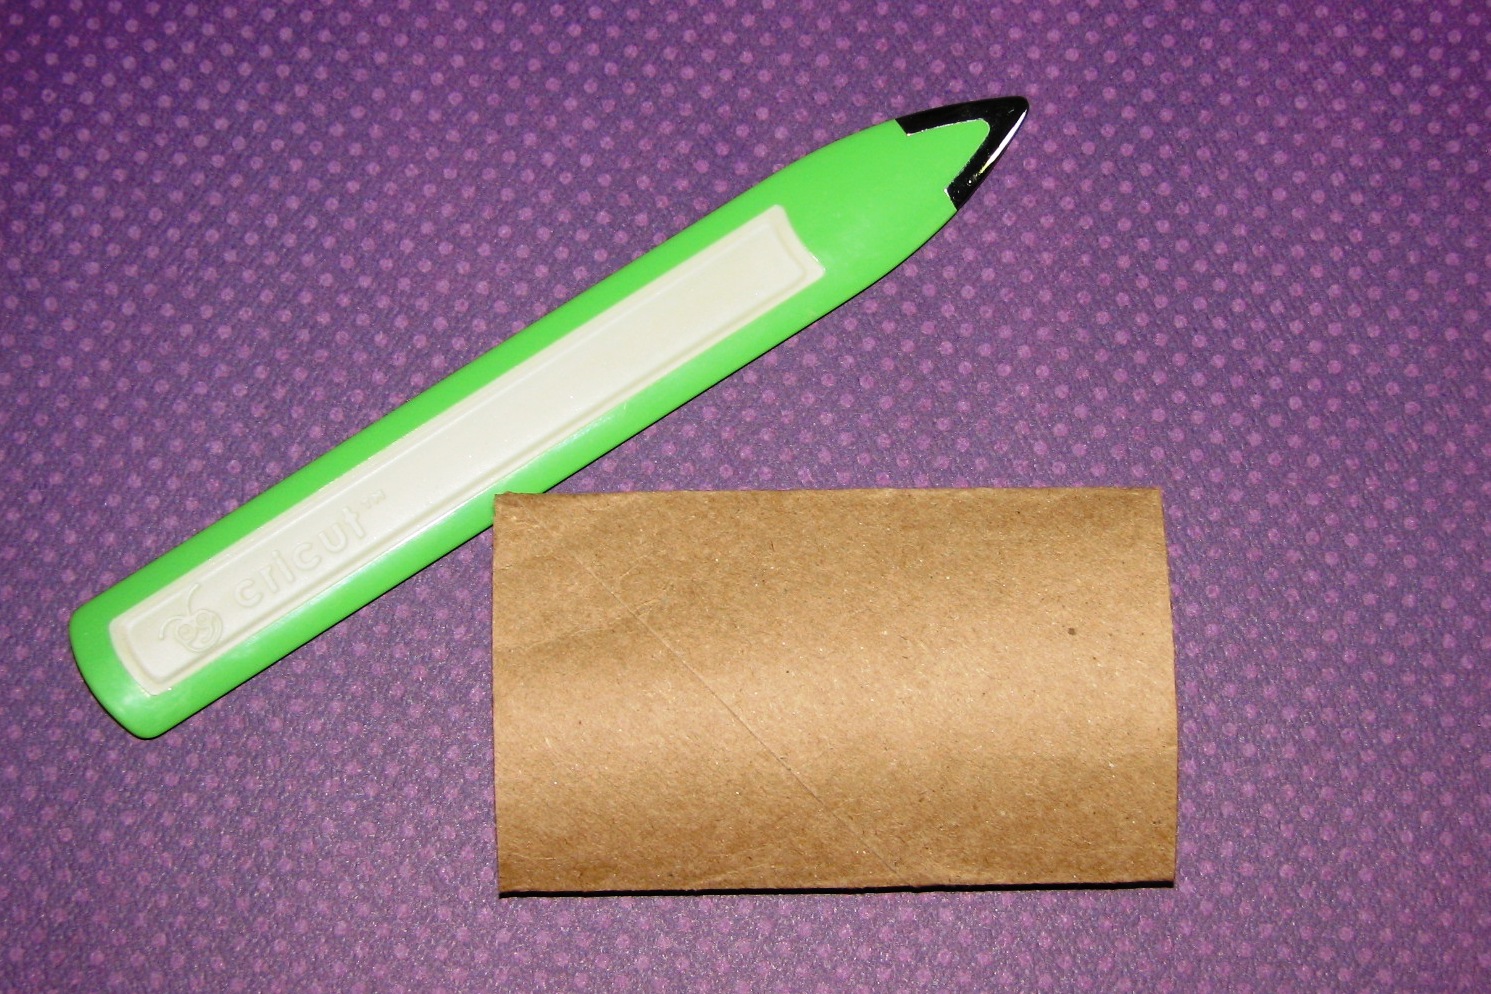
So, I gathered it all together, and my TP rolls, 5 of them. First, I took the rolls and flattened them out really good.


Don't worry if they aren't totally flat, because as you can see from the pic they don't go completely flat until you paint them. I didn't get any pics of that part of the process, but I just took some black acrylic paint and and brushed it on each roll, first one side letting it dry and then the other. Once they were completely dry, I smashed them flat and they cooperated!


Now that that part was over with, it was time for the fun part... creating! Here's a look at all the pages:


The Back cover


Once I got all of my pages done, I created 5 tags, one for each roll. They slide right into the open ends of the album. I love that!♥


So that's it! Like I said in the post below, I would have never thought of using TP rolls to create an album, but how great is it to Scrap GREEN? I ♥ it! Plus, it's an easy and fast project. Took me about 4 hours, but now that I know what I am doing, I am pretty sure that I can get the next one done in under 3.

So, let me know what you think about it; Weird? Crazy? Cute? Would you make one? I'd love to hear what you think!

LinkWithin

Related Posts Plugin for WordPress, Blogger...